Nowadays, web security has become a crucial part of the internet. Search engines like Google and Bing or Yahoo prioritize websites with an active SSL certificate installed. However, it is hard to get something at no cost these days. But the good news is you can get an SSL certificate, including wildcard at zero dollars. That’s where Let’s Encrypt comes in – a free, open-source, nonprofit certificate authority (CA) that provides domain-validated (DV) SSL/TLS certificates for free of cost.
You may have already heard about Let’s Encrypt because many hosting providers offer free SSL certificates from Let’s Encrypt as part of their hosting plan. But what if your hosting provider doesn’t? In this case, you can follow this tutorial to get a free SSL certificate signed by Let’s Encrypt to install on your website.
You need to install Certbot on your Windows machine and follow some simple processes. Certbot is an open-source tool to install and manage your SSL certificates. Let’s dive into it.
Firstly, download Certbot and install it on your Windows machine by clicking here. Then, run the following command in the command prompt (CMD) with administrator privilege.
certbot certonly --manual --preferred-challenges=dns --email [email protected] --server https://acme-v02.api.letsencrypt.org/directory -d *.domain.com -d domain.comYou need to replace domain.com with your actual domain name. Here, domain.com represents Let’s Encrypt will issue an SSL certificate for your domain name whereas *.domain.com is for wildcard SSL, meaning, it will also protect all your subdomains. You can also protect multiple domains by adding more ‘-d’ flags, for example, you could add ‘-d domain2.com -d domain3.com -d domain4.com’ to protect these domains with a single SSL certificate. However, it is recommended to issue separate SSL certificates for each domain name.
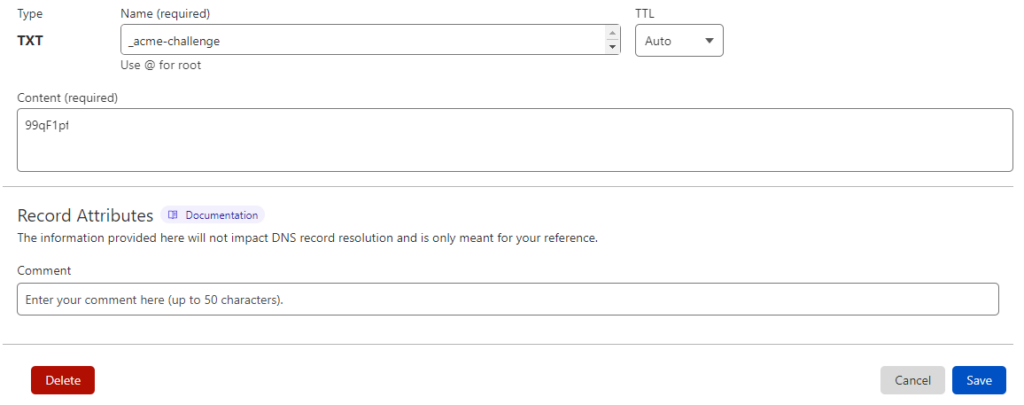
In the next step, you need to add the TXT records in your domain registrar to verify the ownership of your domain.

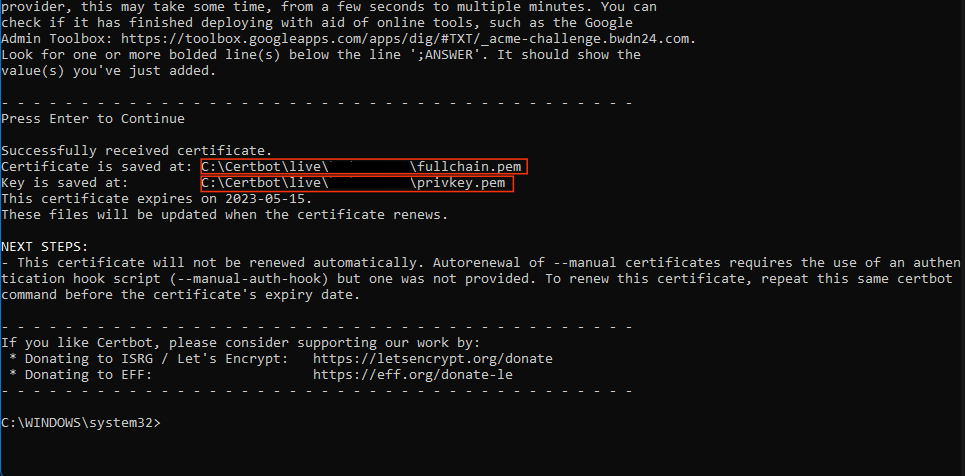
After verifying the ownership, your SSL certificate will be issued. You can view your SSL certificate by navigating to the folder specified in the command prompt. Your certificate is saved as, ‘fullchain.pem’, and the private key is saved as ‘privkey.pem’.
Open these files in Notepad or Notepad++, copy the certificate and private key, and paste them into the SSL option on your cPanel. Congratulations! Your website is now protected by an SSL certificate issued by Let’s Encrypt. Please keep in mind that, you need to manually renew the certificates after 90 days and repeat the process.
Protip:
- Issue wildcard SSL certificate as it not only protects your domain name, but also an unlimited number of subdomains. So, you don’t need to issue an SSL certificate for your subdomain each time.
- For best practices, renew your certificate every 60 days or at least 21 days prior to the expiration.
- If your hosting plan includes a free auto-renewal SSL certificate, you could use that as you don’t need to issue and renew SSL certificates yourself.
- You could use Cloudflare which provides free SSL/TLS certificates for your domains. I’ll make a tutorial on this topic later.